How to install pib´s software on Raspberry Pi
For pib to work, it is necessary to install pib.software on your Raspberry Pi.
This tutorial consists of 3 main steps:
- Downloading and installing Ubuntu on a Raspberry Pi
- Setting up Ubuntu
- Installing pib.software
To follow this tutorial, you will need
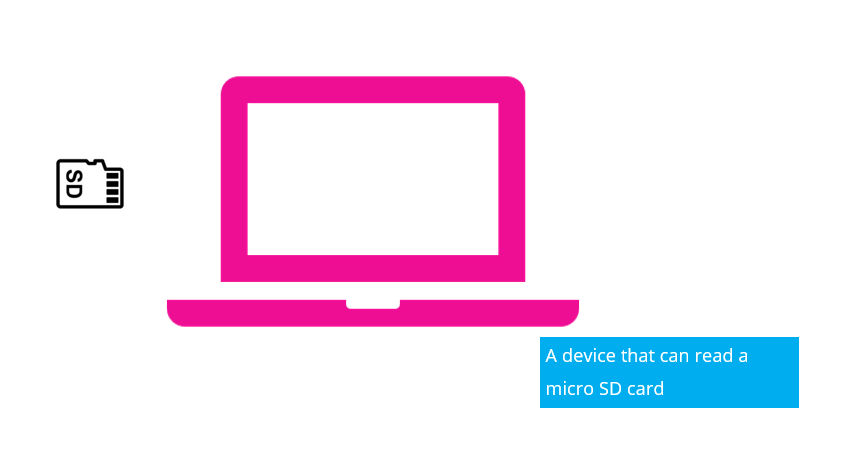
- A device that can read a micro SD card (You may need an adapter for this to work)
- The (USB-C) power supply of the Raspberry Pi
- A keyboard and mouse
- A display and a matching micro HDMI adapter (For example: to connect the Raspberry Pi to a HDMI display, you need a micro HMDI to HMDI adapter)
Put the micro SD card into a device that can read a SD card (a laptop or PC).
You may need an adapter for this to work.
Download Raspberry Pi imager from https://www.raspberrypi.com/software
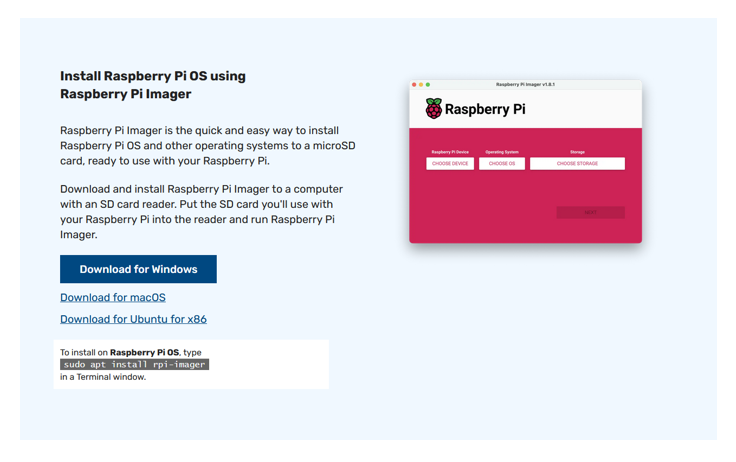
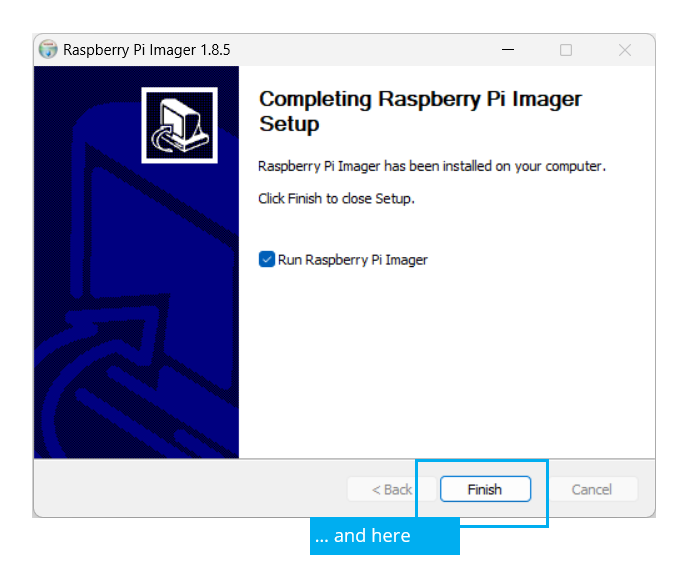
Install Raspberry Pi imager.

After installation click on „Finish“ and launch the application.
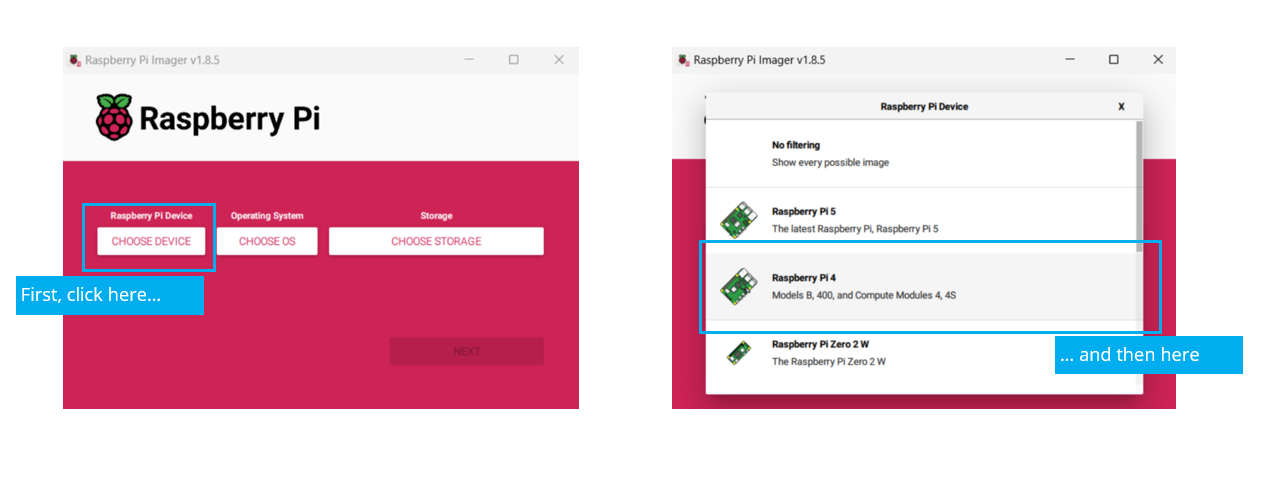
Lauch imager and click on „Choose Device“.
Then click on „Raspberry Pi 4“.
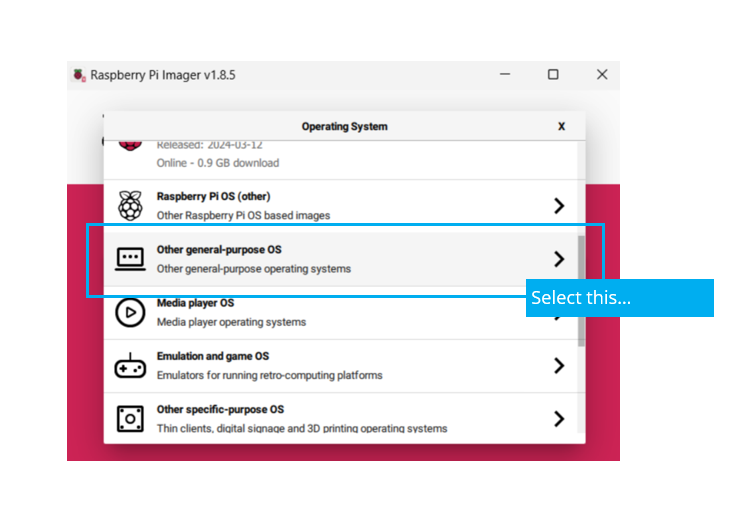
Select „Other general-purpose OS“.
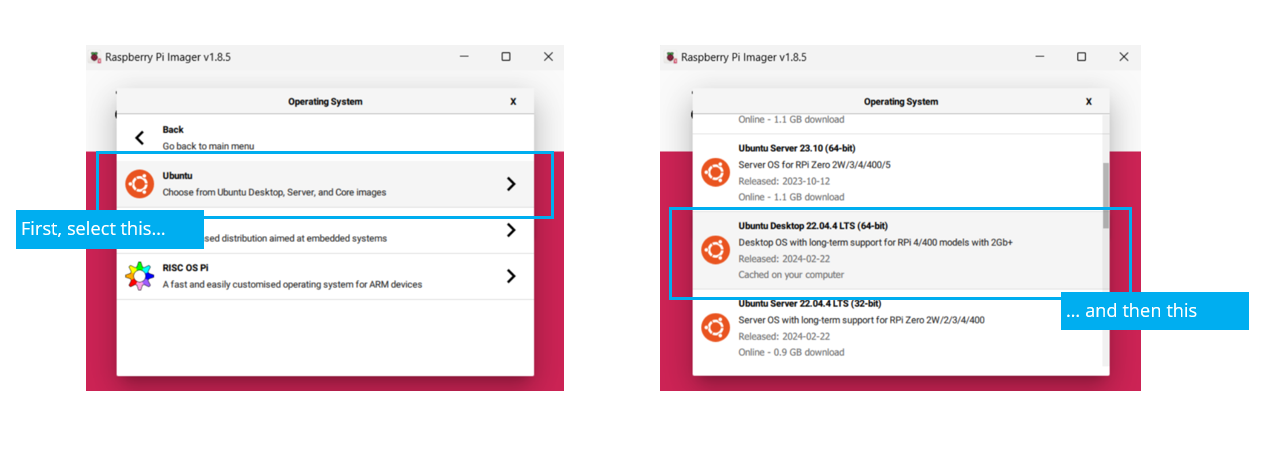
Select „Ubuntu“ then „Ubuntu 22.04.4 LTS desktop version 64-bit“.
Please note: you can select a newer version too, but it is important to select Ubuntu 22.04.x
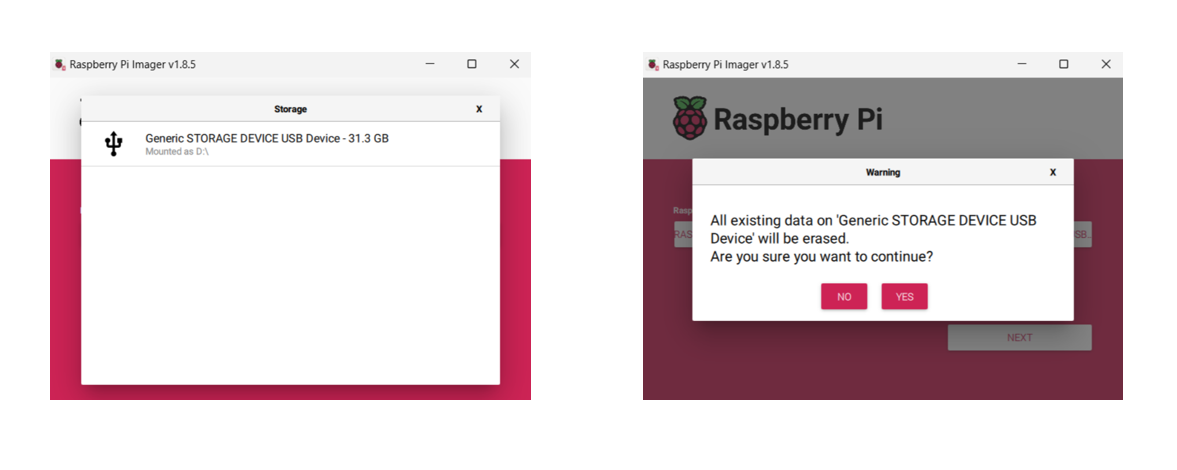
Choose your storage device – make sure to select the micro SD card.
Please note: all existing data on a pre-used card will be erased.
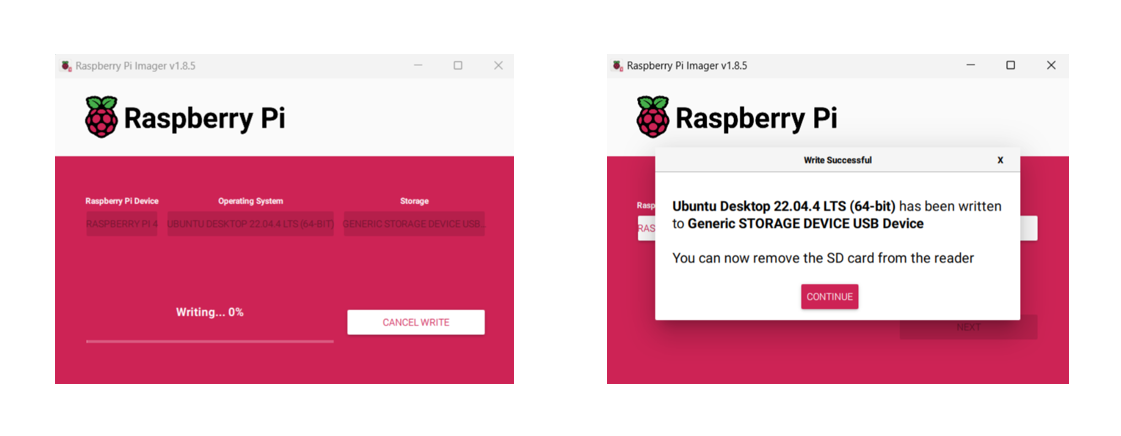
Click on „Write“ to start installing Ubuntu on the storage medium and wait until the process is finished.
Then click on „Continue“ to end Step 1.
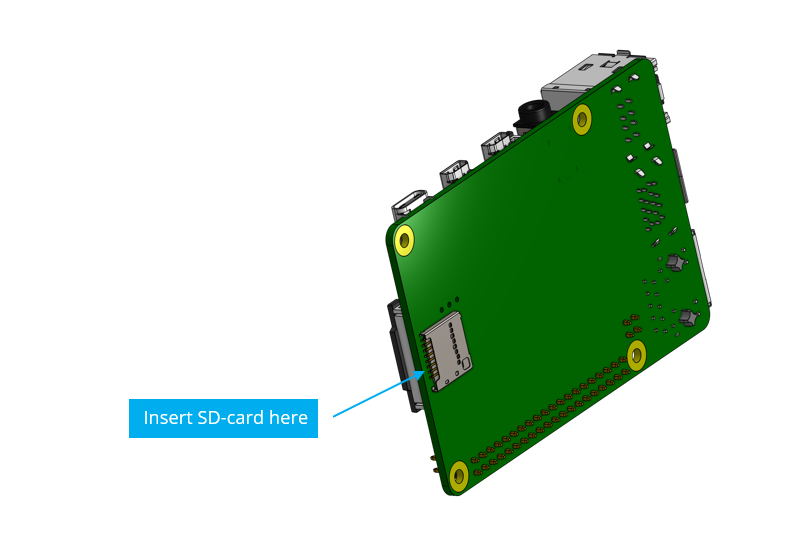
Remove the micro SD card from laptop/PC and insert it to the Raspberry Pi.
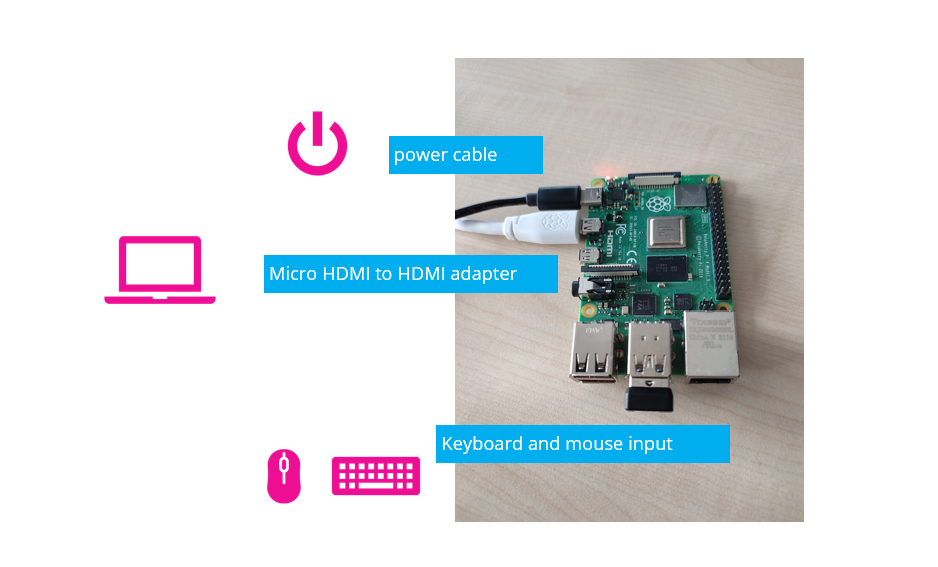
Connect the Raspberry Pi to your power supply, a HDMI capable screen/display and a keyboard and mouse for the next steps.
After connecting the raspberry pi to the display and power supply, it should show the Ubuntu loading screen.
After it has finished loading the Ubuntu Installation setup should start.
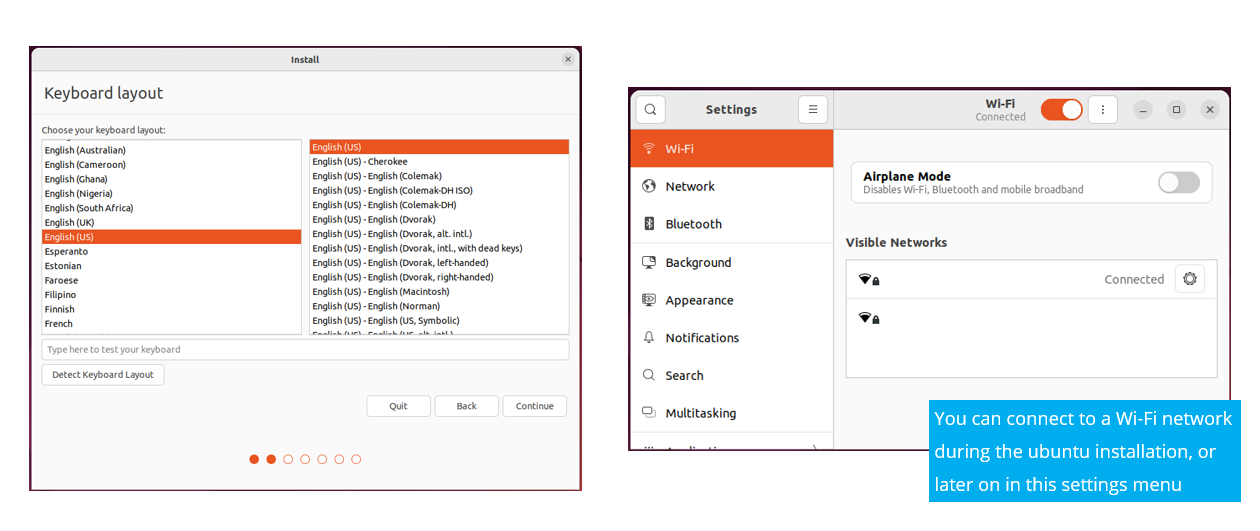
Select a matching layout for the keyboard you’re using.
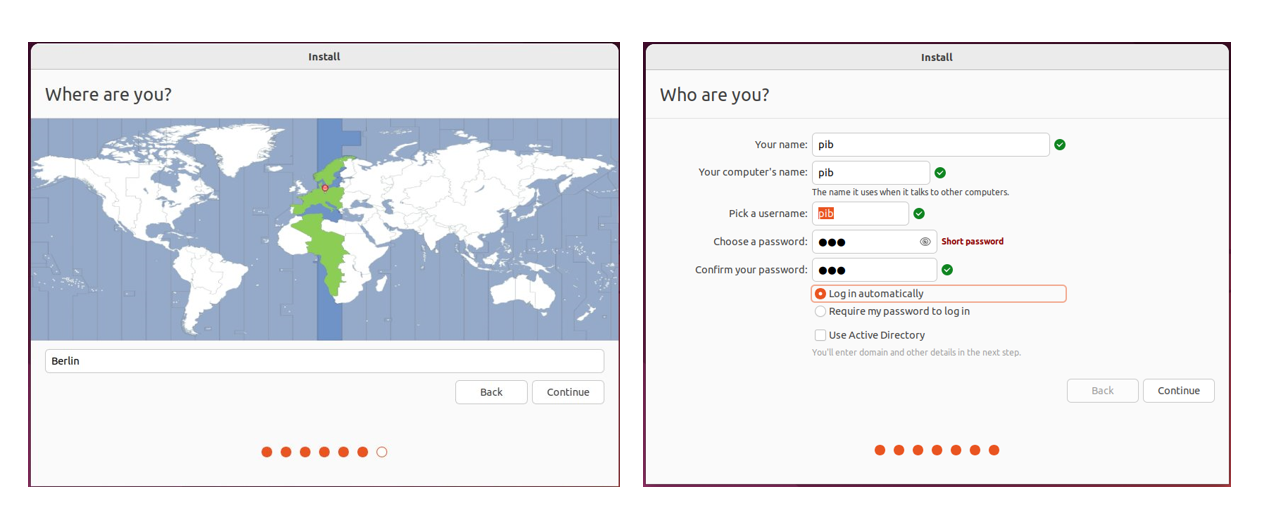
Select your local time zone and set “pib” as username and password.
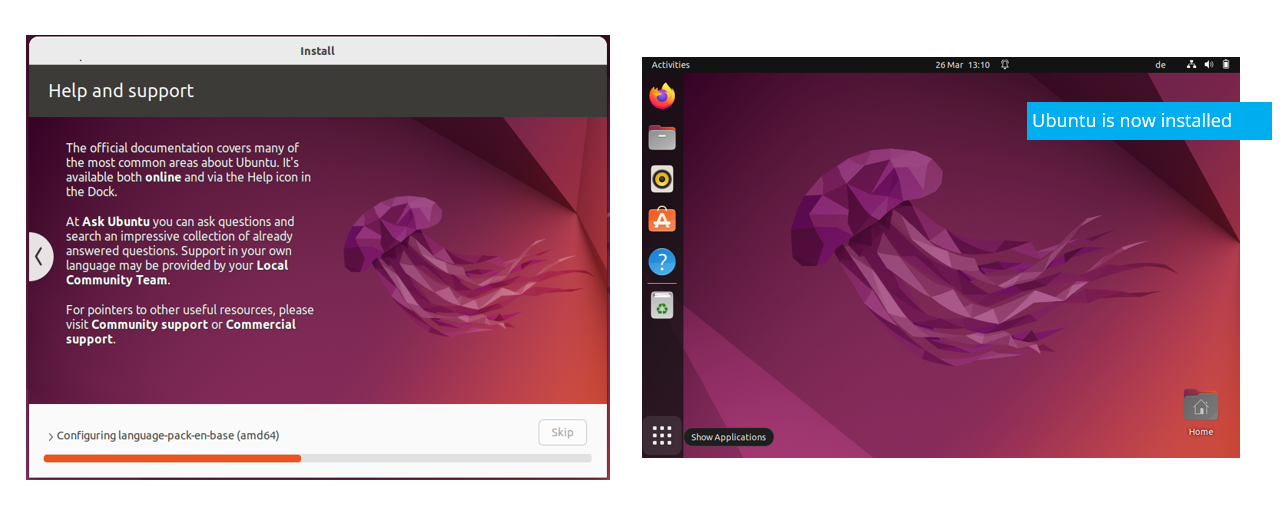
Wait for the installation to be finalized. This may take some time.
Open firefox and navigate to the pib.software setup page on Github using this link: https://github.com/pib-rocks/pib-backend
You will need these 3 commands to continue the pib.software setup.

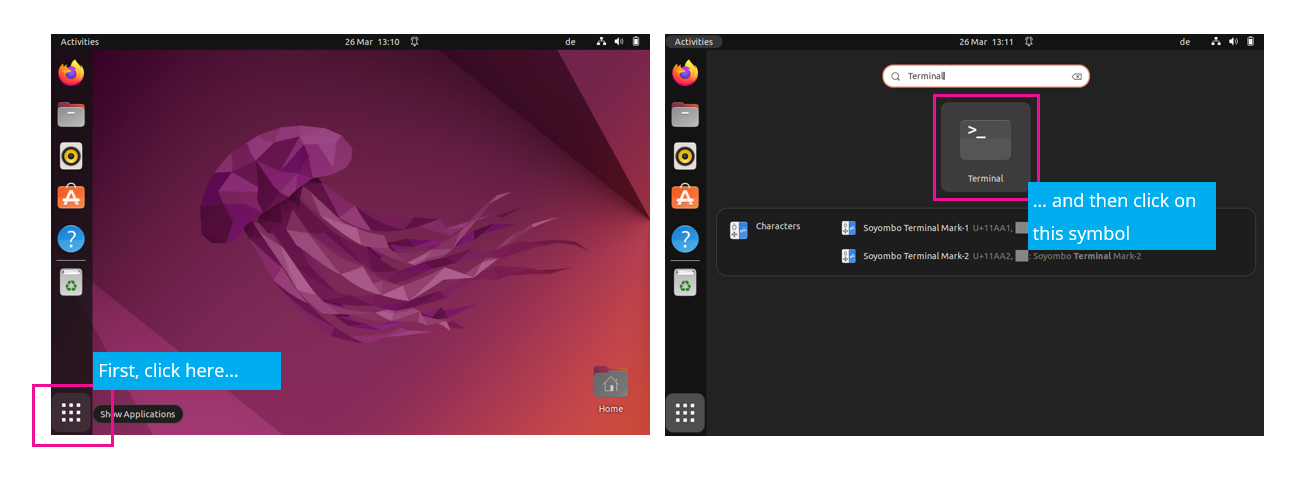
At first, launch the terminal. You may need to type “Terminal” into the search bar to find the app.
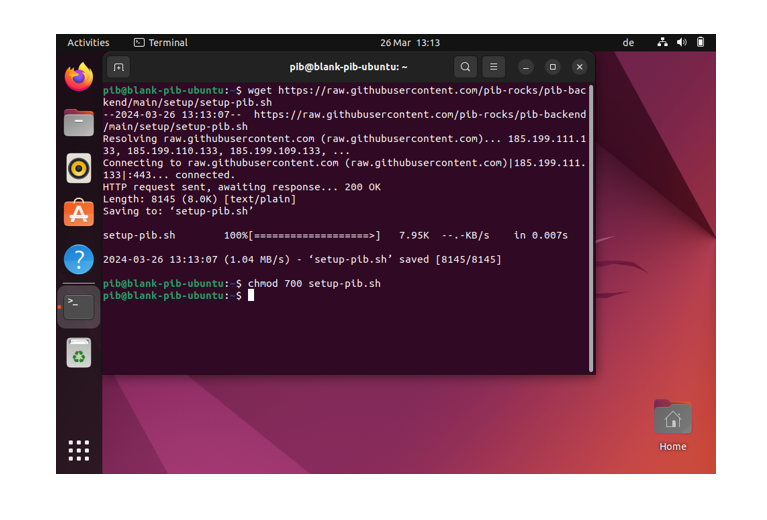
The first command will download the setup-script from our github website.
– Copy the command from github (wget https://raw.githubusercontent.com/…)
– Paste it into the terminal
– Press enter to execute the command
Info: If the download isn’t working you can also download the file manually via github

The second command makes the downloaded script executable.
Copy the command from github (chmod …) and paste it into the terminal like in the first step.
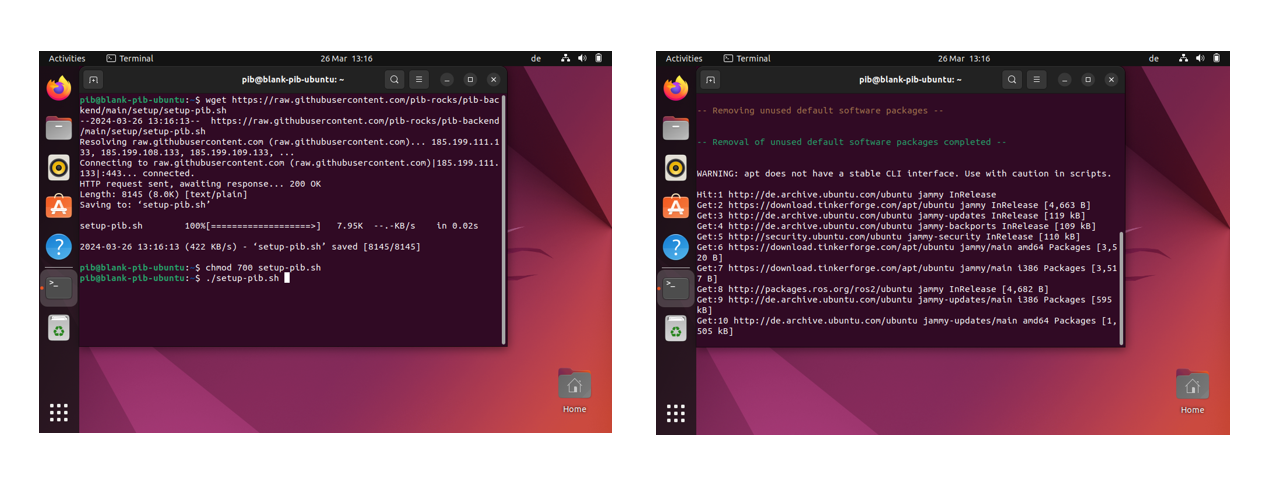
The third command starts the setup script. Therefore, enter the command in the terminal.
The setup process will take quite some time, depending on your internet connection (upwards of 40 minutes).
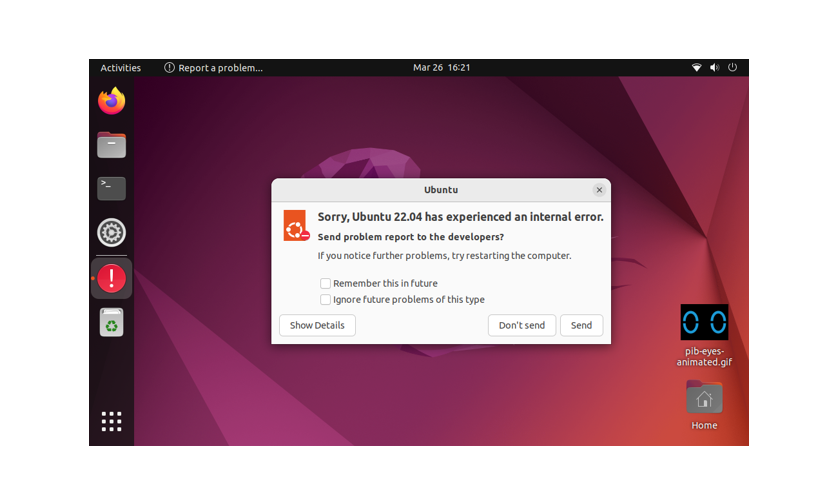
You can safely ignore most if not all error messages that pop up during or after the setup.
Most of them are caused by ubuntu or software packages.
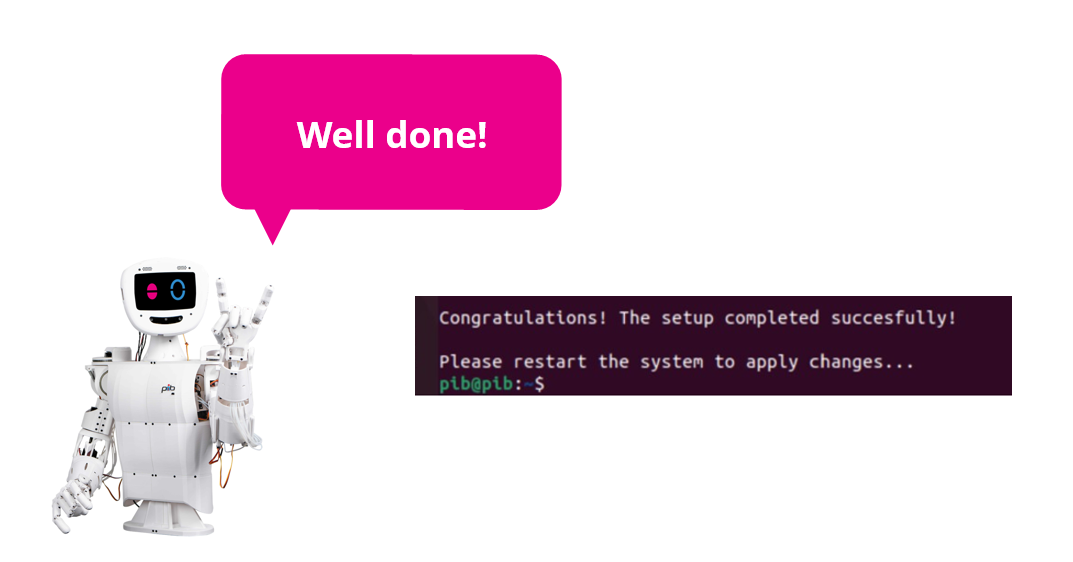
You did a great job, the pib´s software is now installed on your Raspberry Pi.
Please restart the system to apply changes.
Then, you can remove your Raspberry from all devices. The SD card should stay inside your Raspberry.